How to Clean and Restore Your Car’s Headlights
Updated on July 12 2026
It doesn’t matter if your car has the shiniest paint job in the neighborhood. If your gleaming car has foggy, yellowish, hazy, or scratched headlights, the vehicle will look old and dated no matter how much you polish and wax the paint. You can blame the degradation on the plastic material itself. In the olden days, new vehicles came with glass headlights and were more resistant to fading, yellowing, and degradation.

However, polycarbonate plastic headlights slowly became mainstream due to lower manufacturing costs and the ability to mold the lenses into complex shapes. It’s the reason why modern cars have contoured fascias and slick designs. If not for polycarbonate headlights, our cars would still have generic-looking round or square headlights like your grandpa’s classic Toyota.
How to Clean and Restore Plastic Headlights
Over time, plastic headlight lenses will degrade, fade, and have a yellowish tint after years of exposure to UV rays, changing weather, and heat from the headlight bulbs, but don’t worry. Here are three known methods that are proven effective in restoring the like-new condition of your car’s hazy and yellowish headlights.
How to Clean Headlights with Toothpaste
Materials Needed:
- Plain white toothpaste
- Masking tape
- Microfiber towel or terry cloth
- Small spray bottle with water
- Carnauba wax or any other paint wax
Step 1: Start with a clean vehicle.
If you can help it, wash and dry the car before proceeding to clean the headlights. If you don’t have time, the least you can do is to clean the headlights with water and a microfiber towel before proceeding. Removing excess dust and dirt from the headlights will make the restoration process more straightforward.
Step 2: Mask the edges with tape.
Apply masking tape on the edges of the headlights to protect the paint from mild scratches. You should do your best to avoid touching and rubbing painted surfaces with toothpaste to prevent scratches and swirl marks.
Step 3: Apply toothpaste.
Grab a clean microfiber towel, wet it in water, and squeeze out the excess. Apply a coin-sized dab of toothpaste on the damp cloth and rub it firmly on the headlight lens using small, circular motions. Do not hesitate to spray a little bit of water on the surface as it dries, and you can use more toothpaste as desired. Depending on the condition of your headlights, this process may take time, or you may need to repeat twice or thrice to restore the lens.

Note: You can use an orbital polisher to polish the lenses with toothpaste.
Step 4: Rinse with water.
Rinse off the excess toothpaste with clean water and wipe dry with a dry microfiber towel. At this point, the lens should look more transparent than before. You can repeat Step 3 if the lenses need more polishing.
Step 5: Apply wax.
You must apply a thin layer of carnauba wax (or any paint wax) on the lens to seal the finish and protect against UV damage. You can use your finger to apply wax (paste wax or liquid wax is fine) or use an applicator pad. Allow the wax to dry to a haze and wipe off with a clean microfiber towel. Remember to use wax and NOT polish.
How to Clean Headlights with Polish and Glass Cleaner
The following method uses glass cleaner and ordinary paint polish to clean and restore the headlight lenses. Remember that wax and polish are different. Wax is like a seal on the surface to protect against sun and rain, while polish has abrasives to remove mild scratches and imperfections.
Materials Needed:
- Glass cleaner
- Paint polish (liquid or paste)
- Masking tape
- Small spray bottle filled with water
- Microfiber towels
- Carnauba wax
Step 1: Wash the headlights and apply masking tape.
Wash the headlights first, wipe dry, and apply masking tape on the edges to protect painted surfaces from scratching.
Step 2: Apply glass cleaner.
Spray glass cleaner directly on the headlight lens and wipe the excess with a microfiber towel to remove stuck-on dirt and contaminants. You can repeat the process if the lenses are dirty.
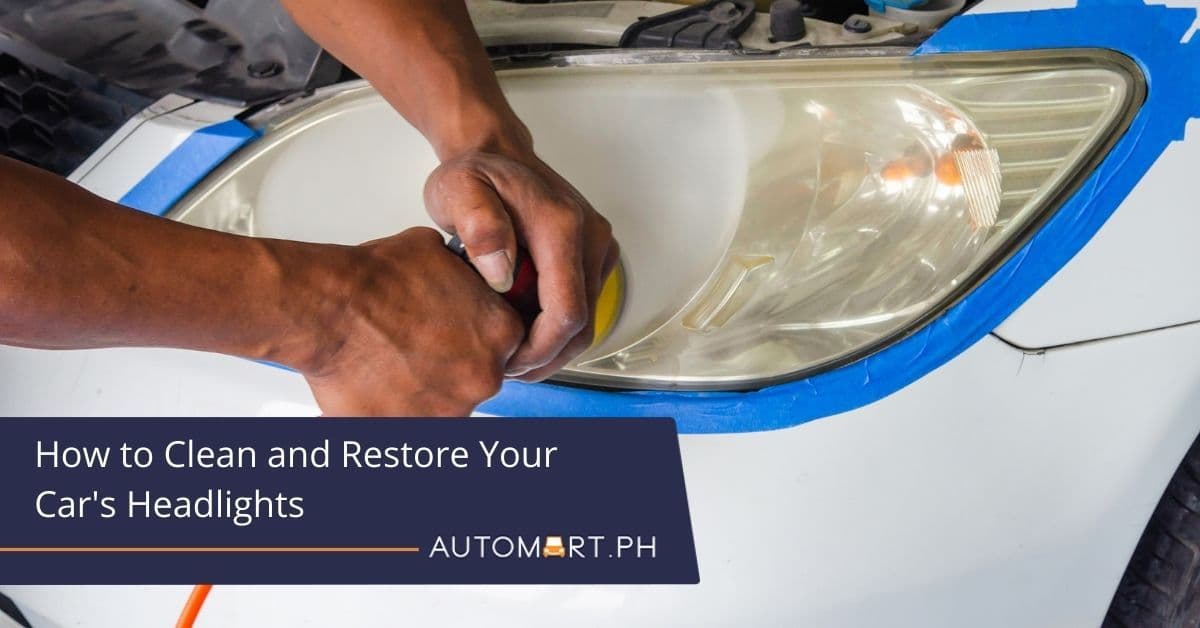
Step 3: Polish the headlights.
Apply a small amount of polish to a damp microfiber cloth. Rub the polish vigorously on the headlights using small, circular motions. Grab a dry microfiber cloth, wipe off the excess polish before it begins to dry, and check your wok. You can repeat the process several times until achieving the desired results. However, do NOT allow polish to dry before wiping off.

Step 4: Apply wax.
After polishing the lens, wipe off all the excess using a dry towel to prepare the surface for wax. Apply a light coat of wax on a small applicator pad and allow to dry to a haze before wiping off with a towel.
How to Clean and Restore Headlights with Sandpaper
This last procedure is for extremely foggy, hazy, or yellow headlights. If the first two methods were not enough to restore the clarity of your headlights, you could use sandpaper as a last resort.
Materials Needed:
- 1000-grit sandpaper
- 1500-grit sandpaper
- 2500-grit sandpaper
- A bucket of clean water
- Masking tape
- Polish
- Wax
- Microfiber towels
Step 1: Wash the headlights and apply masking tape.
Start with a clean set of headlights. Wash and dry as usual. Apply masking tape on the edges of the lenses to protect the paint from scratching. Apply a thicker layer of tape as needed to protect chrome and paint.
Step 2: Use 1000-grit sandpaper.
Always use wet sanding when working on plastic headlight lenses. Grab a small piece of 1000-grit sandpaper and soak it in a bucket of water for five to ten minutes. Grab the wet sandpaper and proceed to rub the lens in a left-to-right motion. Dunk the sandpaper in water if it begins to dry. Do NOT rub the lens in circular motions. Rinse the headlights with clean water after sanding.
Step 3: Use 1500-grit sandpaper.
The next step is to use 1500-grit sandpaper. But this time, you should sand in an up and down motion to eliminate the abrasion marks from the first sanding. As usual, soak a small piece of 1500-grit sandpaper in a bucket of water for five minutes and rub vigorously. Rinse the headlights with clean water afterward.
Step 4: Use 2500-grit sandpaper.
The final sanding process involves using 2500-grit sandpaper to smoothen and refine the headlight lenses. In this step, you should rub the headlights with a wet piece of 2500-grit sandpaper in a left-to-right motion. Wet the sandpaper with water if it begins to dry. Rinse the headlights with water after sanding.
Step 5: Apply polish.
Polish will further smoothen the surface and remove hairline scratches. Use a damp applicator pad to apply polish on the headlight lenses using small circular motions. Remove the excess with a dry towel before the polish dries to a haze.
Note: You can use an orbital polisher to polish the lenses.
Step 6: Apply wax.
The final step is to apply a light coat of wax on the headlight lenses. Allow the wax to dry before buffing off the excess with a dry microfiber towel.

At this point, all that’s left is to peel off the masking tape and congratulate yourself for a job well done!
Conclusion
Avoid parking under direct sunlight whenever possible to prevent early degradation of your car’s plastic, rubber, chrome, and metal parts. Wash your vehicle at least once a week or twice a month to maintain its like-new appearance.