How to Replace the Headlight Bulbs
Updated on June 18 2026
Driving with broken or malfunctioning headlights (or what people like to call a one-eyed Jack) is not only dangerous, but it’s against the law. Your car’s headlights are necessary to see clearly in the dark, and those lights also help other drivers and pedestrians to see your vehicle on the streets.

If you’re dealing with busted or broken headlight bulbs, don’t fret. Fortunately, headlight bulbs are easy to replace, and you can do it at home without using complicated hand tools
How to Replace the Headlight Bulbs
Modern cars can have LED or HID (High-Intensity Discharge) headlights instead of conventional halogen bulbs, but the process of removing and changing the bulbs are remarkably similar.
Materials Needed:
- New headlight bulbs
- Hand gloves (optional)
- Screwdriver (optional)
Step 1: Park the vehicle and open the hood.

Park your car in a safe and level area with lots of light. Turn off the engine, remove the keys from the ignition, and pop open the hood. If the engine bay is hot, allow it to cool for 15 to 20 minutes before proceeding to avoid burning or scalding your hands. It’s a good idea to wear some work gloves before touching any part under the hood.
Step 2: Locate the bulb socket and pull it out.

The headlight bulbs are typically behind the headlight assembly and are readily accessible by opening the hood. But in some cases, you may need to remove the battery, air cleaner housings, washer fluid bottles, or splash shields to gain access. The key is finding the bulb sockets at the back of the headlight housing. Pull out and disconnect the electrical sockets and proceed to the next step.
Step 3: Remove the rubber cover.
In most cars, you will need to remove or pull out the rubber cover after disconnecting the socket. The cover protects the headlights from moisture and water intrusion. Gently pull it out, remove it, and set it aside.
Step 4: Remove the bulb from the housing.
Halogen bulbs are held in place by a metal holder or spring, while most HID and LED headlight bulbs have wire clips or retainers. Whatever the case, you need to unhook or unlock the clips or retainers to extract the bulb from its housing.
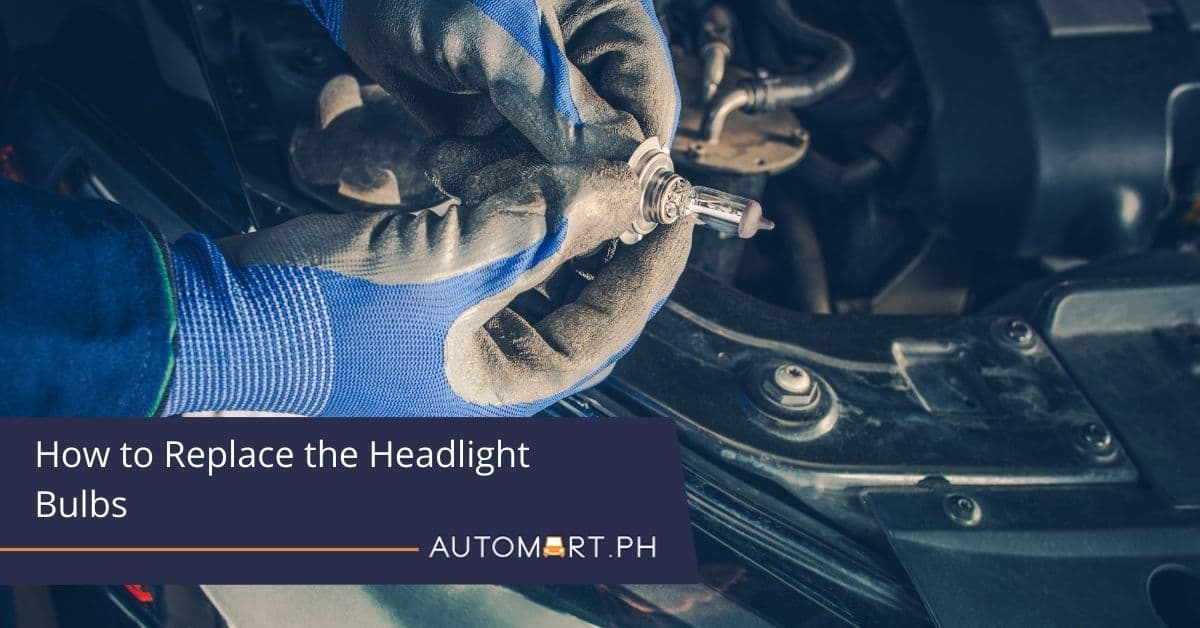
Step 5: Insert the new bulb.

Grab the new headlight bulb and carefully insert it inside the housing. When handling any bulb, make sure not to touch the glass surfaces with your bare hands or fingers. And if you do, make sure to wipe the bulb clean before proceeding. Salt, moisture, and oil could stick to the bulbs and cause them to crack, shatter, or fail under extreme heat. You can use a small piece of cloth or paper towel moistened with rubbing alcohol to wipe the bulbs clean,
Step 6: Secure the bulb.
Do not forget to secure the bulb in the housing by relocking the hooks, clips, or retainers you removed earlier. Also, make sure to re-install the rubber cover after the bulb is secured to keep water and moisture away from the bulbs.
Step 7: Reconnect all electrical sockets.
At this point, all that’s left is to reconnect the electrical sockets. After doing so, you can turn on the headlights to test if it works.
Conclusion
Remember to inspect the headlights, taillights, signal lights, and position lights of your vehicle at least once a week. Halogen headlight bulbs can burn for 500 to 1,000 hours before replacing, but aging halogen bulbs will cast a weaker light output before burning out completely, so keep this in mind. On the other hand, HID and LED bulbs can last for 10,000 and 30,000 hours, respectively.